I Gave My Robotic Arm an AI Brain
Turn a low-level servo arm into a goal-driven robot: RDK S100 runs vision and LLM control so the arm sees cubes and sorts them from a plain-language request.
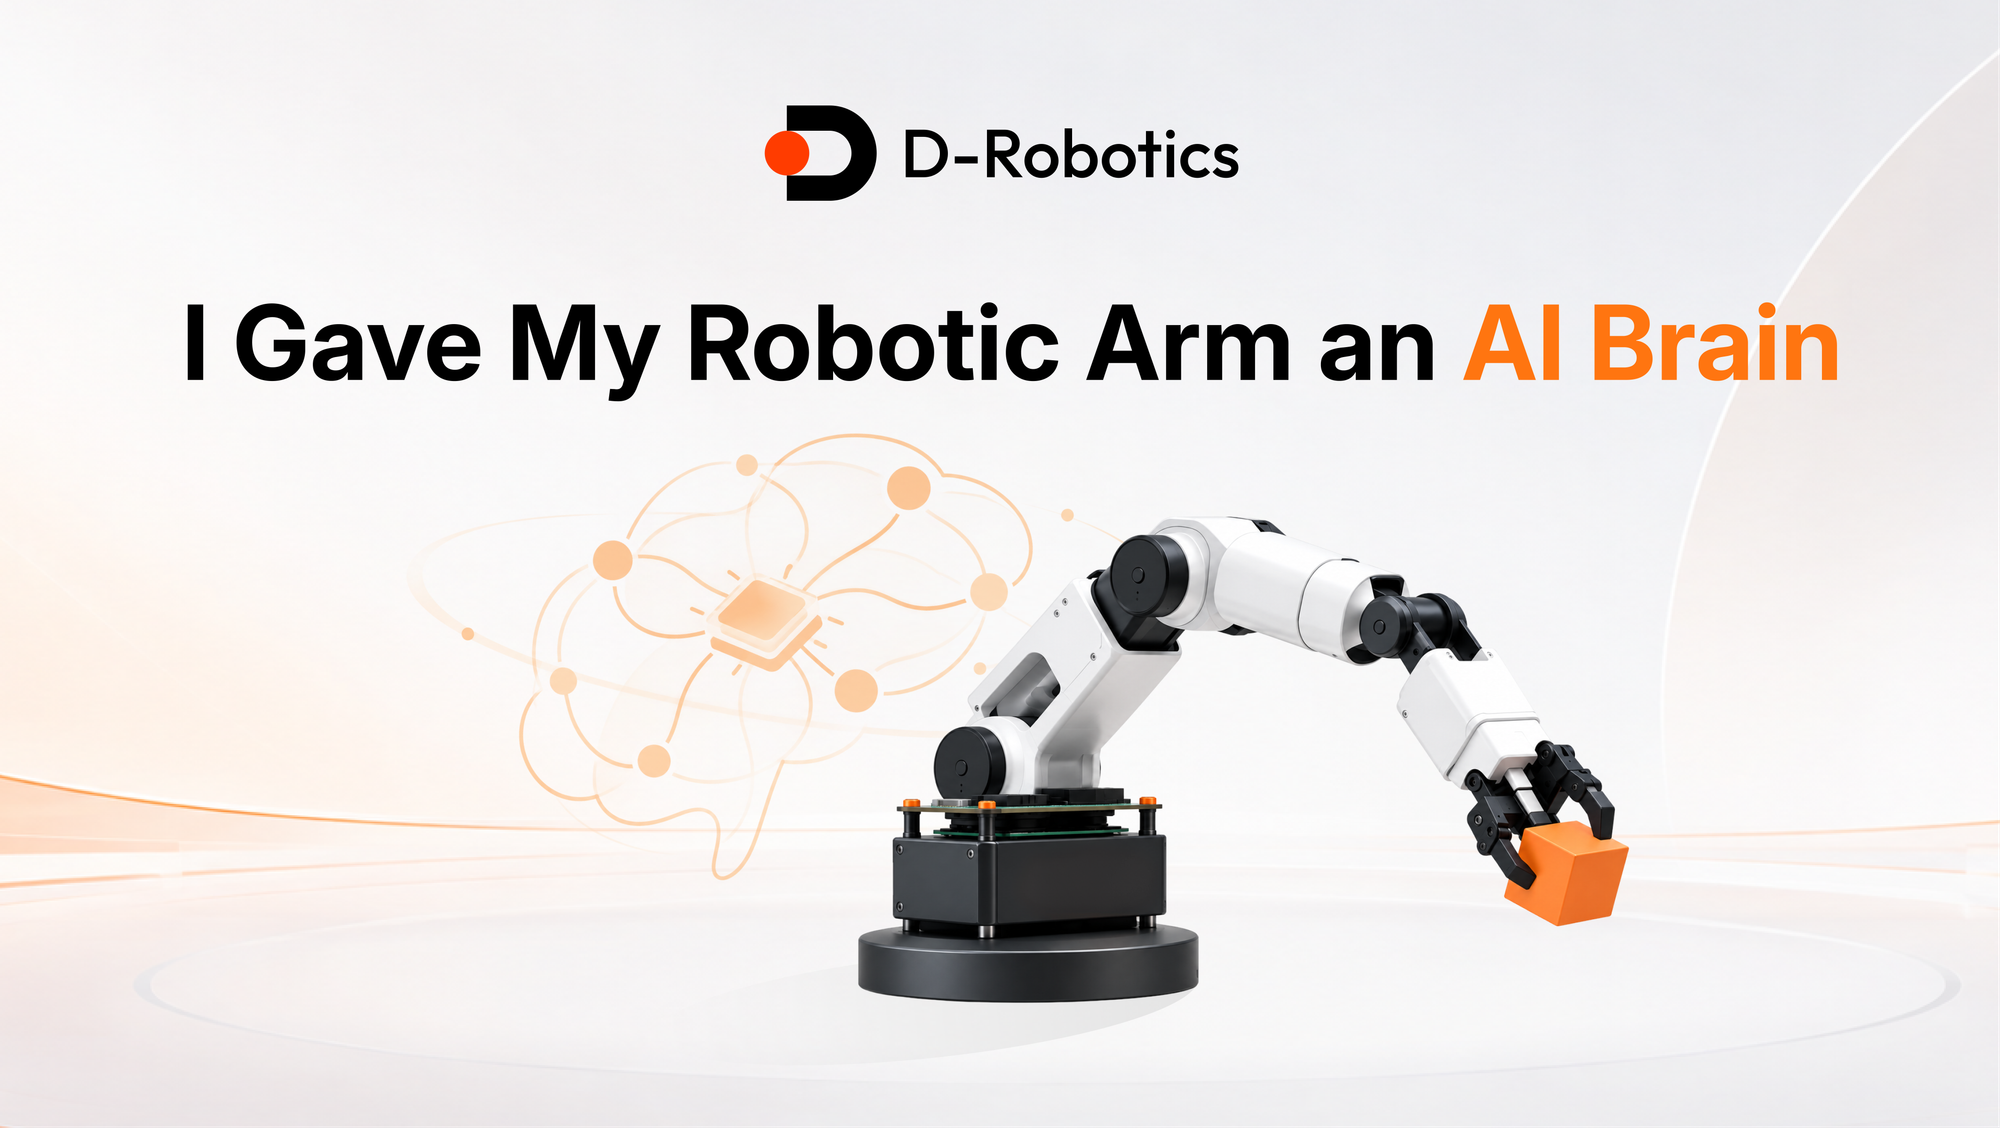
A robotic arm becomes far more useful when it can understand goals instead of waiting for low-level commands. In this build, we combine RDK S100, OpenClaw, RDK Studio, a camera, and an ESP32-C3 controller to create a four-degree-of-freedom arm that can detect colored cubes, sort them into bins, and respond to natural language tasks.
What We Are Building
The goal is not just to move a robotic arm. The goal is to give the arm an AI layer that can understand the workspace, interpret a user’s request, and turn that request into physical motion. Instead of typing servo commands or manually choosing positions, we can describe a task such as sorting colored cubes, and the system handles the perception and execution pipeline.
The project has four major parts. RDK S100 runs the AI, vision, and development workflow. A camera looks down at the workspace and provides visual input. OpenClaw acts as the robotics-aware agent layer that connects natural language to device actions. An ESP32-C3 controls the servos through serial commands, keeping low-level motion control separate from the high-level AI workflow.
This structure gives the build a clean division of responsibility. RDK S100 handles the intelligence and perception. OpenClaw interprets the task and chooses the right operation. The ESP32-C3 drives the arm. The camera keeps the system grounded in the actual state of the cubes and bins.
Start With RDK S100
We start with RDK S100 because a robotic arm with AI needs more than ordinary compute. It needs perception, decision-making, and motion control working together. The RDK S100 Series is designed around a humanoid-inspired dual-brain architecture that combines CPU, BPU, and MCU resources for embodied AI and robotics applications.
On the AI side, RDK S100 provides 80 TOPS of AI performance, while RDK S100P provides 128 TOPS. The CPU subsystem uses six Arm Cortex-A78AE cores, running at 1.5 GHz on RDK S100 and 2.0 GHz on RDK S100P. The real-time side uses four Arm Cortex-R52+ MCU cores at 1.2 GHz for deterministic control workloads. The platform also includes an Arm Mali-G78AE GPU, LPDDR5 memory, eMMC storage, M.2 expansion, USB 3.0 ports, Type-C flash and debug, dual Gigabit Ethernet, and expansion headers for camera and MCU interfaces.
That combination matters in a real robot. Vision models need acceleration. Agent logic and scripts need CPU resources. Motor control benefits from deterministic timing. A simple prototype can sometimes run on a general-purpose board, but an AI robotic arm quickly needs a stronger balance between perception and control. RDK S100 gives us that foundation in one development kit.
Prepare the Board and Accessories
Before writing the arm logic, we prepare the RDK S100 development kit as the main computing platform. The board can be paired with a camera expansion board and an MCU port expansion board. The camera expansion board provides two MIPI camera interfaces and four GMSL camera interfaces, which is useful for multi-camera robotics and vision work. The MCU expansion board extends robotics-oriented interfaces such as Ethernet, CAN FD, ADC, and other industrial I/O options.
For this robotic arm build, the camera is the most important accessory. The arm needs to see the cubes and bins before it can sort them. The RDK S100 ecosystem also includes a full-metal protective case, GMSL camera, and MIPI camera options, leaving room for a more robust version of the project later.
After connecting Ethernet, keyboard, mouse, HDMI display, and power, we boot into Ubuntu 22.04 and use the board as a development workstation. That is useful because robotics projects involve repeated dependency installation, camera tests, serial communication checks, Python scripts, and debugging. Keeping the full workflow close to the hardware reduces the friction of moving code between a separate PC and the robot.
Check the AI Headroom First
Before the arm starts sorting anything, we validate the AI path with object detection. A model such as YOLOv11 is a practical first test because it quickly tells us whether the camera pipeline and AI inference path are behaving as expected.
In the test setup, the camera and demo pipeline display around 30 fps, while model inference itself takes about 5 to 6 milliseconds per frame. That means the visible frame-rate limit comes from the camera or demo pipeline rather than the AI accelerator. This is an important development habit: a slow display loop does not always mean the AI compute is saturated.
For the sorting project, this headroom is useful. The arm does not need a single detection result; it needs repeated perception updates as cubes and bins are identified. RDK S100 can process the workspace, detect colors and positions, and still leave room for agent logic and control coordination.
Build and Connect the Robotic Arm
The physical arm is a four-degree-of-freedom design. A 4-DOF arm is a good first version because it is mechanically manageable while still being capable of picking up cubes and placing them into bins. We print the parts, assemble the joints, wire the servos, and test basic movement before adding the AI layer.
Servo control runs on an ESP32-C3. The firmware receives commands and drives the servos to execute movement. After uploading the firmware, we disconnect the ESP32-C3 from the main PC and connect it directly to RDK S100. Serial communication becomes the bridge between high-level AI decisions and low-level arm motion.
RDK S100 can support real-time control workflows through its Cortex-R52+ MCU resources, but using ESP32-C3 in this first prototype keeps the system easier to iterate. The arm control layer stays small and predictable, while RDK S100 focuses on perception, OpenClaw integration, and the natural language interface.
Use RDK Studio as the Build Surface
RDK Studio gives us a robotics-native workspace for working with the board. It combines chat, terminal, files, flashing, and board interaction in one environment. With Moss as the agent runtime and OpenClaw on the device, RDK Studio can SSH into the board, run commands, stream logs, inspect files, and help debug issues without constant tool switching.
We connect RDK S100 by entering the board IP address. Once connected, we can use the terminal, file browser, remote desktop, and board agent tools directly against the device. This matters because robotic systems rarely fail in neat ways. A camera may disconnect, a serial port may change, a dependency may fail to install, or a script may need to be adjusted after a real test. A workbench that sees the board context makes iteration faster.
Next, we deploy OpenClaw as a board agent. After deployment, the board is ready to accept tasks and execute workflows. A good first task is simple: ask OpenClaw to create a Python script that displays the live camera feed. Once the script runs on the board, the camera path and development environment are ready for the arm project.
Give the Arm Eyes
The sorting task depends on visual state. We mount a camera above the robotic arm so it can see the workspace. Then we create an OpenCV script that detects colored cubes and target bins. The script determines whether a cube is present, identifies its color, and reports where the relevant objects are located.
The output should be simple and structured. For example, the perception script can return a list of cubes with color and approximate position, plus the detected bin locations. OpenClaw does not need to reason from raw pixels for every step. It needs reliable scene information that can be used to choose the next action.
This is the same pattern used in larger robotics systems. Perception turns sensor data into state. The AI layer interprets the user request and chooses a goal. The control layer executes the movement. RDK S100 is designed for this perception-decision-control flow, which is why it fits this project better than a board that only runs scripts.
Teach OpenClaw the Arm’s Skills
Natural language control only works if the AI understands what the arm can actually do. We describe the arm through a skill. In the skill workshop, we create a new skill, give it a clear name, and upload or paste the robotic arm instruction file. The skill defines the available commands, serial communication format, required parameters, and safe operating assumptions.
After the skill is deployed to the device, OpenClaw can translate a user’s goal into arm commands. Instead of manually typing serial instructions, we can ask the system to sort the cubes, move a cube into a target bin, or organize the workspace by color.
The skill should be specific. It should explain how to pick up a cube, how to place it, how to return to a safe home position, and how to handle failure cases. If the camera cannot find a cube, the system should report that clearly instead of guessing. If a movement is outside the known workspace, the arm should refuse or ask for confirmation.
Connect Language, Vision, and Motion
Once everything is connected, the build becomes a full loop. The user gives a task in natural language. The camera captures the workspace. RDK S100 processes the image and identifies cubes and bins. OpenClaw interprets the request, decides which cube needs to move, and sends the right command to the ESP32-C3. The ESP32-C3 controls the servos and moves the arm.
This is where the robotic arm starts to feel like it has an AI brain. The user no longer needs to think in coordinates, servo angles, or command syntax. The user describes the goal, and the system handles the bridge from intent to action.
For the first version, fixed positions and color-based sorting are enough. The system can detect a cube, pick it up, place it into the matching bin, and repeat the process. For a later version, the next step is full inverse kinematics. That would allow the arm to calculate trajectories dynamically and pick or place objects anywhere within its reachable workspace.
Why This Build Scales
The robotic arm is a compact demonstration, but the architecture is much larger than this one project. RDK S100 supports large and small model collaboration, with perception, decision, and control working together for dynamic real-world scenarios. Its BPU supports vision and LiDAR detection, LLMs, VLMs, and a wide range of popular AI models. Its MCU resources support high-frame-rate, low-latency joint control.
For autonomous robots, quadrupeds, industrial automation, and on-device AI systems, that balance is essential. Vision models need acceleration. Planning and agent logic need CPU resources. Real-time motion needs predictable control. RDK S100 combines those requirements with expansion options for cameras, networking, USB, GPIO, and MCU interfaces.
The software ecosystem also matters. RDK Studio reduces development friction. OpenClaw provides a robotics-aware agent layer. NodeHub and the broader D-Robotics ecosystem provide algorithms and application examples that can shorten the path from experiment to working prototype. The result is not just a board running code, but a development workflow built for physical AI systems.
Summary
With RDK S100, OpenClaw, RDK Studio, and a camera-guided arm, we can move from manual control to goal-driven robotic behavior. Start with color sorting, then expand into dynamic motion planning and richer scene understanding.